Adding an image to Activity, Course or Curriculum from Adobe Connect.

Adding an image to your Activities, Courses or Curricula is quit easy. All you need is a URL for where ever the image you want to use is located.

What if you would like to store your image on Adobe Connect. You might have noticed that if you use the Adobe Connect Content URL, the image does not display on the LMS Micro-site.  This is because the default URL of an image in the Adobe Connect Content Library, loads the image in a player.  There is way to use the Adobe Connect Content Library to store and deliver your Micro-site Images.

First you must load your image to the Content Library into any folder you choose. ip address websites how to buy domain  I like to create a folder specified specifically for the LMS.

ContentLib

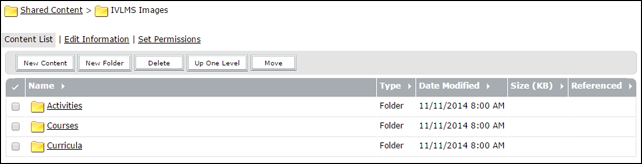
Load your image(s) into the specified folder(s) using the ‘New Content’ button.

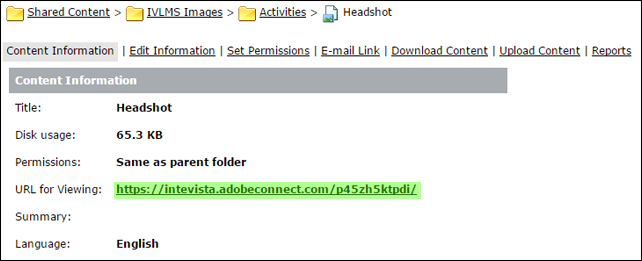
Once your content is loaded, copy the URL.

ImageUpload

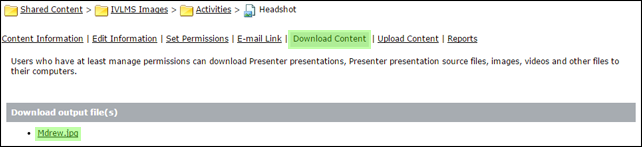
Also, you will need to make note of the the file name. You can find the file name of your image by clicking on the ‘Download Content’ link.

ImageName

Now that you have both the Connect URL and the File Name, you can use these steps to add this image to your Activity, Course or Curriculum.

Log into iVLMS as a Content Manager, and got to the Activity, Course or Curriculum you would like to add the image to.

Find the Image text field and enter the information you collected above the following way.

ContentURL/output/fileName

By using this logic, this is how our example above would look like after we create the URL

https://intevista.adobeconnect.com/p45zh5ktpdi/output/Mdrew.jpg

Save your changes and now your Adobe Connect Content Library is delivering the images you want to use.

Re-positioning the Search Bar

Depending on your use of the LMS, you might want to choose to move the Search bar to a different location.  The default location of the search bar is on its own line, centered on the page below the Information / Header Bar. Perhaps, you would like the search bar to appear on the Information / Header bar.

Default location:

Default

Let’s take a look at the moving the search bar to the header.

First, you must be logged in as an administrator.

Click on the ‘Login’ link in next to the Home Icon Icon.

Enter your Admin credentials.

AdminLogin

Next, Click on the gear icon, find Customize and click on Javascript.

We can enter custom javascript on this page to make changes to the way the LMS builds out along with other custom functions of the page.

Enter this code:

iv.$(“[source=playbill]”).hide();
iv.when(“home.header.load”).then(function($, response) {
     var mar = $(“[source=marquee]”).find(“div.iv-pull-left”);
     var pb = $(“[source=playbill]”).find(“input”);
     mar.append(pb.show());
});

Click ‘Save’ and refresh the Page, you will see the Search bar now displays in the Header Bar.

 LeftSearch

We can make changes to this code to move the search bar to the right side.

iv.$(“[source=playbill]”).hide();
iv.when(“home.header.load”).then(function($, response) {
     var mar = $(“[source=marquee]”).find(“div.iv-pull-right“);
     var pb = $(“[source=playbill]”).find(“input”);
     mar.append(pb.show());
});

RightSearch

Or:

iv.$(“[source=playbill]”).hide();
iv.when(“home.header.load”).then(function($, response) {
     var mar = $(“[source=marquee]”).find(“div.iv-pull-left”);
     var pb = $(“[source=playbill]”).find(“input”);
     mar.Prepend(pb.show());
});

PreRightSearch